Record a component removal & installation TAG |
|
|---|---|
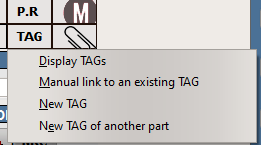
IMPORTANT NOTE: The below procedure is to record a component removal / installation starting directly from the Log / Purchase module, TAG sub-module You can also (and it is recommended) to start this procedure from the WO (M.Work module) where this component removal / installation was initiated. In doing so, all documents are automatically linked together, including the DFP (Dirty Finger Print) To start this procedure from the M.Work module, display the WO associated with this component removal / installation and click on the TAG button, then select "New Tag":
Then proceed to step 2 below:
|
|
1 |
Select the
|
2 |
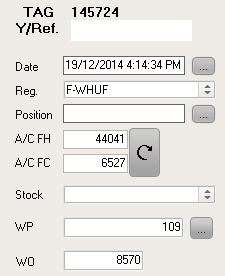
Enter the fields starting with the information displayed on the left side:
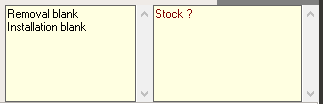
As you are entering more data, AMS will update the information boxes located on the bottom right corner to let you know what fields need to be entered:
Note 1: You can enter data into the "Removal" section and let the "Installation" section blank. In this case the component position will become empty after validation of this TAG
Note 2: You can let the "Removal" section blank and only enter the "Installation" section. In this case AMS will accept the TAG only if no component was installed in this position (otherwise an error message will be displayed to explain the data conflict)
Note 3: You can enter the "Removal" section even if the component being removed from the aircraft is unknown by AMS prior to this removal TAG. In this case, this removal TAG will cause the removed component to be created in AMS and will show up in the unserviceable area of the selected stock. This component can then be handled (returned to the customer, repaired, scrapped as applicable)
Field entry highlights:
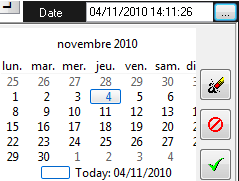
"Date" button (enter the date of the removal / installation tag):
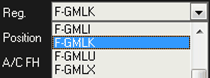
"Reg." enter the aircraft registration / MSN
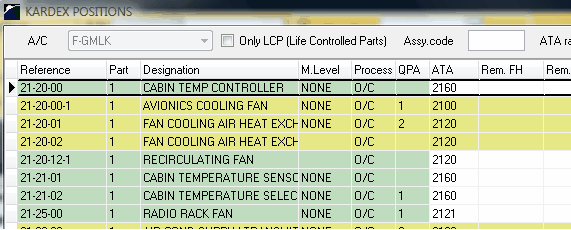
"Position": Enter the aircraft component position
|
3 |
Review the field entries, then validate
To print this PO, refer to Print a document
|
IMPORTANT NOTES:
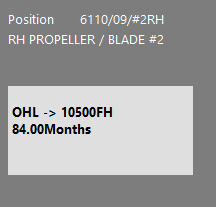
- AMS is showing you the limitations associated with the component you are about to install on the bottom left section. In this example, AMS shows this component is required to be overhauled every 10500 FH or 84 Months. It means that you must enter the TSO and the MSO of the installed component as a minimum (if you do not, then the component does not meet the requirements of the maintenance program)
- It is essential to understand the meaning of the "Aging on certification date" section:

The first line (.SI) shows the FH, FC and Months since the last Inspection / Repair (SI stands for "Since Inspection")
If the installed component was Inspected / Repaired (as certified on the component release document like a FAA Form 8130-3 or EASA Form One), then this first line contains 0 / 0 / 0.
The first line (.SO) shows the FH, FC and Months since the last overhaul (SO stands for "Since Overhaul")
If the installed component is overhauled (as certified on the component release document like a FAA Form 8130-3 or EASA Form One), then this second line contains 0 / 0 / 0.
If the component was not overhauled during its last shop visit, but the overhaul is normally tracked for this component (CMM), the TSO / CSO / MSO should be stated on the last release document
The first line (.SN) shows the FH, FC and Months since new (SN stands for "Since New")
If the installed component is new (as certified on the component release document like a FAA Form 8130-3 or EASA Form One), then this third line contains 0 / 0 / 0.
If the component is not new, but this component if usually considered as life limited (CMM), the TSN / CSN / MSN should be stated on the last release document